Original Article: Union Sportsmen’s Journal, Fall/Winter 2020 Issue – Behind the Lens: Professional Advice on Filming Your Hunt, By Kate Nation
How Do You Film A Hunt?
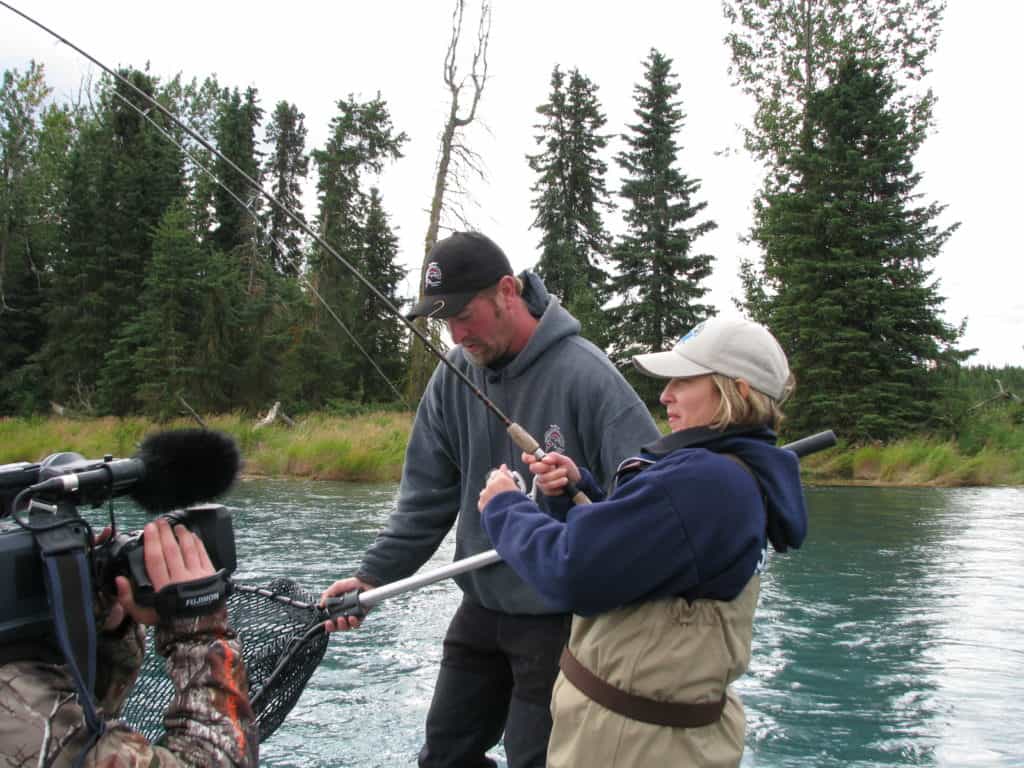
I have been involved in the USA’s Brotherhood Outdoors TV series since it premiered in 2011 as well as its predecessor Escape to the Wild. I have reviewed countless episodes and can quickly point out what I like and dislike, but I have no filming skills of my own. So, I am very interested in how hours of footage from various cameras and angles comes together in a compelling 22-minute TV episode.
I suspect I am not the only one. Maybe you have thought about filming your own hunting and fishing adventures or that of your family members or friends. Maybe you have already tried filming and want to figure out how to capture the experience to make it look more like your favorite shows on outdoor TV.
To help you get started or advance to the next level, I gathered intel from three outdoor videographers, who have filmed on a professional level and are experienced sportsmen.
Meet Our Professional Hunting Videographers
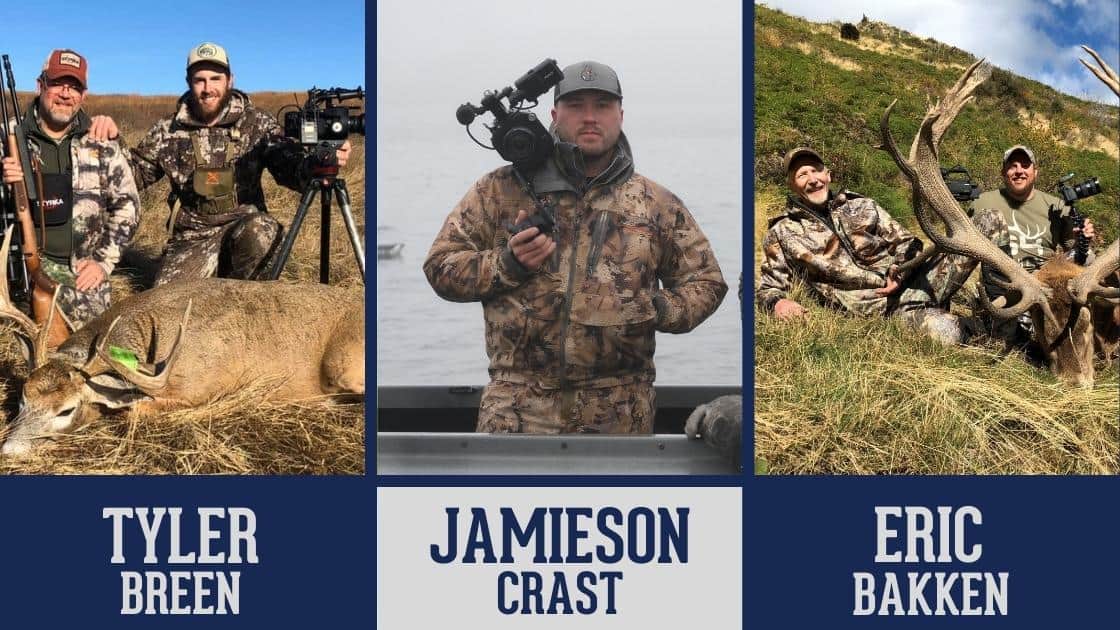
Professional Hunt Videographers: Tyler Breen, Jamieson Crast, & Eric Bakken
Tyler Breen
While pursuing a biology degree, Tyler Breen developed an interest in documenting the wildlife he witnessed in the field. Driven by his passion to capture what he loved about the outdoors in the most vivid and interesting way possible, he bought an entry level DSLR camera and began photographing and filming any wildlife he could. Without formal training, he learned through extensive practice, trial and error, online videos, and advice from professionals in the field. Breen has filmed episodes of the USA’s Brotherhood Outdoors TV series.
Jamieson Crast
Jamieson Crast, producer of the USA’s Brotherhood Outdoors TV series, harvested a lot of turkeys when he was young, so he was content to call them in for his younger brothers. Since he wasn’t the one pulling the trigger, he purchased a Handycam and tried to capture his brothers’ hunts on camera. Filming turkey hunts progressed to waterfowl and then whitetail. He taught himself the trade through YouTube videos and by studying movies and how the camera angle can evoke different emotions.
Eric Bakken
After getting out of the Army, USA Event Coordinator Eric Bakken followed his passion for videography by pursuing a four-year degree in film. He then filmed veteran hunts for four years and two seasons of a hunting show that aired on Pursuit Channel. Bakken continues to utilize his filming and editing skills to produce videos for the USA.
What are the hardest aspects of filming a hunt?
EB: It’s a mix between finding sub stories to make it interesting and getting the people you are filming to relax and be themselves.
JC: Probably the conditions. When I recently filmed in Alaska, we had 35 mph winds and rain. I was trying to capture high-end content with $20,000 in camera gear, and I had no control over the weather. You are at the mercy of Mother Nature.
What are some misconceptions people have about filming a hunt?
EB: That it must be all about the kill, and that it’s cheap. The time it takes from prepping and planning to filming and editing adds up to a lot of time and money.
JC: A lot of people think that if they just take a camera or their GoPro, capture their hunt, and put it on YouTube, it will be great. Whether you are filming someone else or yourself, it is surprising how often a camera will save an animal’s life. If your priority is to capture the animal on camera, you often won’t get the shot. It is so hard for the deer to walk by in a position for you to get a kill shot and to get it framed and in focus on the camera. A lot must go right.
What are some key tips for filming?
JC: Learn your camera inside and out. Know what ISO is. Learn aperture and exposure. You can buy a $10,000 custom rifle, but that doesn’t mean you kill an elk at 1,200 yards. The same goes for a camera. You don’t need the most expensive, high-end camera to get good content. You just have to know how to use the camera you have.
EB: Learn the basics: master framing, exposure, and sound. If any of those are not right on a basic level, you will start off behind the curve, and most of those elements cannot be fixed in post editing. Once you know the basics, get out there and try it. Be creative. Find others who inspire you and learn from them. And ALWAYS be ready and shoot lots of B roll (supplemental video considered to be secondary to your primary footage).
TB: Video is essentially a complex photo, so begin with the fundamentals of still photography (ISO, aperture, shutter speed). How those things go together and correlate to the type of lens and the camera’s capabilities give you multi-dimensional results. Since I was self-taught, it took me years to wrap my head around manipulating the manual settings on a camera quickly and efficiently for it to be instinctual when something happened. There are classes and online resources available to learn the basics, and that will cut out a lot of the trial and error. Cameras have a ton of settings, but the ability to use them is key.
What is your favorite equipment?
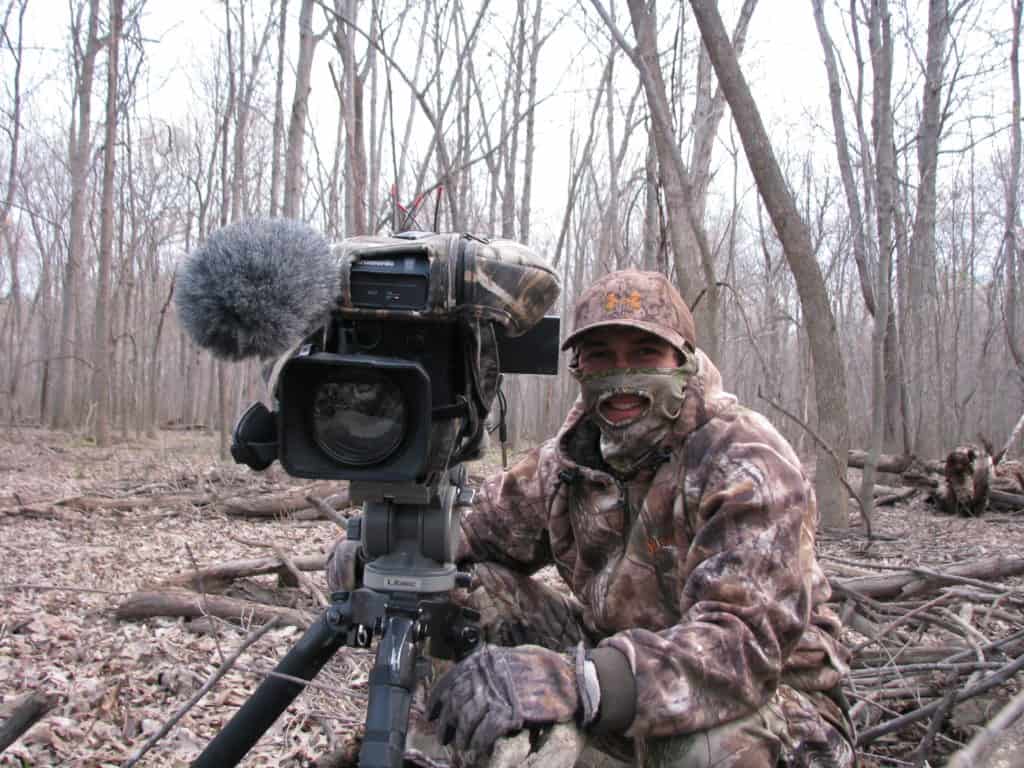
EB: If you are looking for something basic, find a nice camcorder that does a lot of the work for you. It allows you to be versatile. A DSLR camera is more challenging at times with lens changes, but you can get a lot more creative. Wireless mics or a shotgun mic are extremely beneficial for improving sound quality. To take it to the next level, I suggest multiple camera options with different lens, artlist.com or a music subscription, an editing computer, and a camera that has preset or the ability to shoot in true slow motion.
JC: Lenses are my favorite. In film and photography, a prime lens is a fixed focal length photographic lens (as opposed to a zoom lens), typically with a maximum aperture from f2. 8 to f1. 2. If I take a photo of a deer antler with a 50mm prime with an F1.4, for instance, what I put in focus would be sharp but the line where it transitions to out of focus might be just 2 inches back. You can get some really artistic shots. You can also get a 15mm or 16mm, which gives you sort of a fish-eye effect, which is cool for stars or landscapes. You can really change the perspective of your photos and video through lenses.
TB: When I started taking 500 still photos every day to practice, I never went anywhere without a DSLR camera. I had two Nikkon D750s. They were middle of the road, full-frame cameras. The lenses are more expensive, but they are better because they have a bigger sensor to catch more light, and you get that professional look. They are set up to manipulate the manual mode. I used both of my D750s for five years each. They have been to five Canadian provinces and every state in the U.S. They rolled around in the bottom of duck boats and in ice, snow, and saltwater. They are rock solid.
For filming – you need a good lens. I never went anywhere without a Tamron 150-160mm telephoto lens and a fresh SD card. Tripods are great, but I owned a camera for years before I owned one. Invest in a good tree arm – something that is easy to set up and take down and doesn’t impede you.
Don’t go out and buy a brand-new camera. A camera is just a tool. Some have more options and features than others. If you are going to go out in nasty conditions, you want something that is going to work. Go to a local camera retailer to see what used equipment they have or check eBay, Craigslist, and Facebook Marketplace. Get a deal and learn how to use the camera. Then upgrade.
What equipment works well for filming a fishing trip?
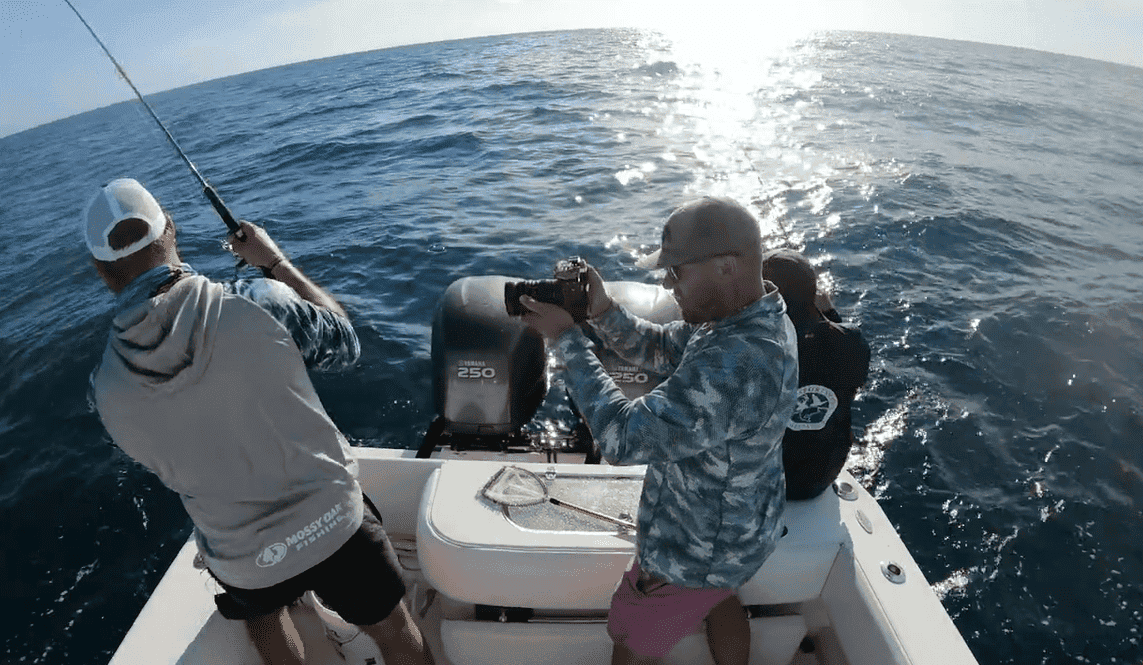
JC: Newer GoPros have great stabilization and are completely waterproof. They make underwater housing for DSLR cameras, but you get a similar quality with a GoPro. Saltwater adds a whole other element. When you are filming a fishing trip with a DSLR camera on a nice, sunny day, you may not think about covering the camera, but that fine, misty saltwater spray will eat your camera up and wreak havoc on the battery and wire connections. So cover your camera up—wrap it in a rain jacket. After filming, wipe it down with alcohol.
What equipment works well for self-filming?
JC: Ideally, you would have two cameras – a GoPro or point-of-view camera over your shoulder (behind you, screwed in on a tree mount) to capture you and whatever is in front of you. The second, something like a 4K Sony Handycam, would be on a tree arm. The Handycam would give you a tight shot of the animal coming in, while the GoPro or POV camera would get a wide shot behind you. That brings you into the film as a character.
How do you prepare for various weather conditions?
JC: There are a few things I take on almost any trip. The first is a waterproof pack cover—the kind used for hiking. You can get them in brown and even camo. They are cheaper than actual camera covers, and you can wrap it around your camera with gaff tape. I’ve used kitchen size garbage bags in a pinch.
Cold temperatures drain your battery fast. I always take a mobile charging pack with USB ports. That will charge your camera for a few hours or even a whole day. You can put it right in your pack, run the USB cable out, and plug it into the camera.
When filming in places like Costa Rica and Florida, it can be 85-degrees and humid in the morning. If your camera equipment is in an air-conditioned hotel all night, you may have condensation on the lens for an hour. So set the camera outside and allow it to acclimate before filming.
When you are filming time lapses at night, it can get really cold—especially in places like Alaska and the Yukon—and your lens will fog up. To avoid that, I activate two hand warmers and wrap them around the lens with a rubber band – that keeps the lens just warm enough to avoid fog, and you get a crystal clear time lapse.
How do you stabilize a camera to avoid constant motion?
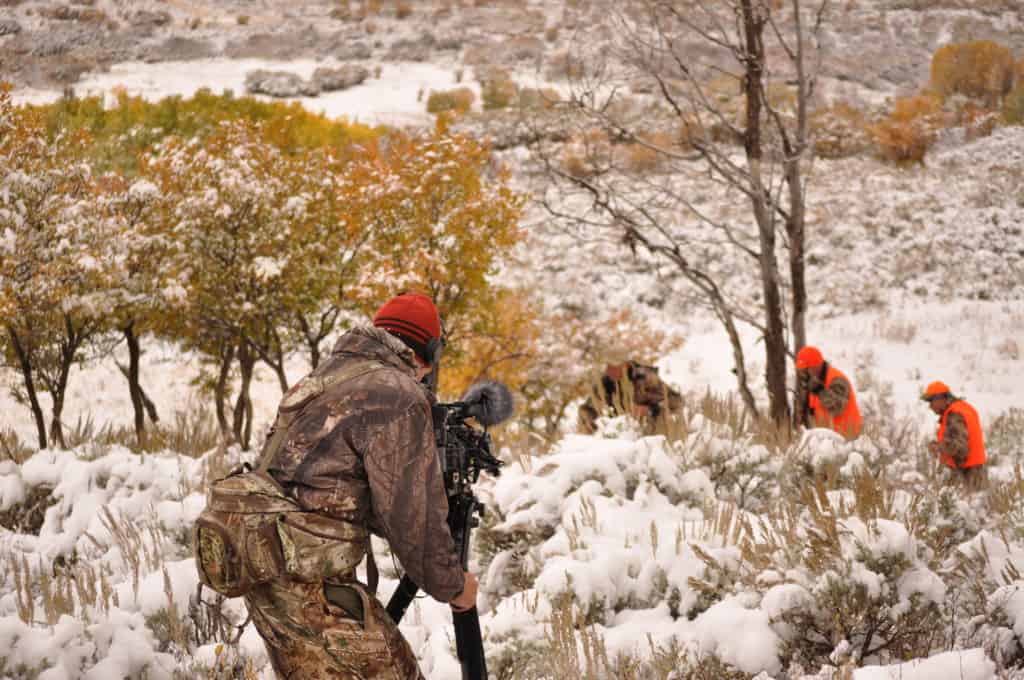
JC: Newer GoPros or POV cams have an image stabilization mode. If you are using a DSLR camera, there is an internal stabilization. I always use that feature since you aren’t usually in a controlled environment where you can use a tripod. You use a handheld 95% of the time, but you should find ways to steady your camera just as you would steady for a shot with a gun—set it on a rock or lean against a tree. There are also shoulder rigs that provide a grip up front to give you another point of contact for stabilization.
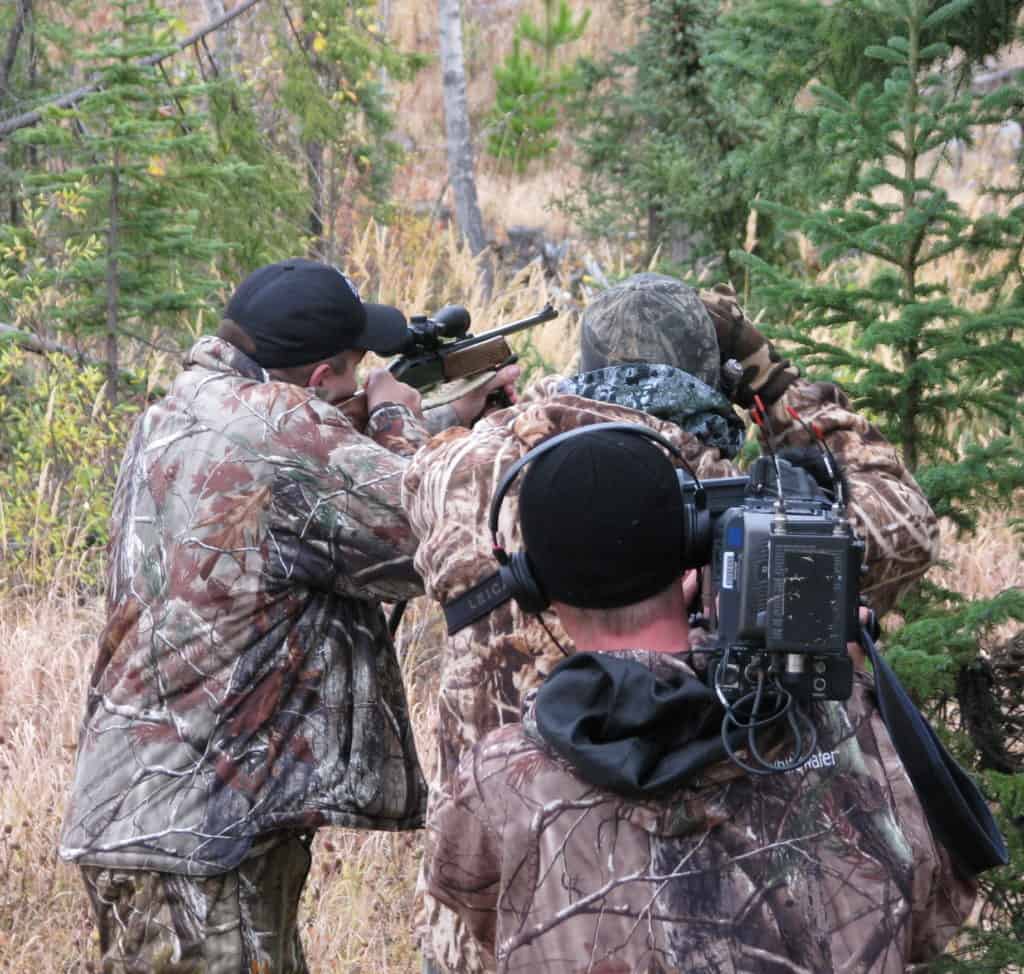
Shoulder Mounted Camera Filming A Hunt
What are some common mistakes or lessons you have learned?
EB: Framing is a big thing. Sound is another.
TB: Watch the back of the screen. The biggest mistake beginners make is watching the animal. As soon as I witness an animal, assess the situation, and get the camera on the animal, I watch the screen—it’s live TV.
As soon as you get in the tree or blind, set up your camera, even if things are going on. When you climb in the tree, the first thing you do as a hunter is load your gun or knock an arrow because sometimes getting there attracts an animal and creates an opportunity. Be ready with your camera as well.
Keep the camera rolling. If I don’t push record, it doesn’t exist for anyone except me. Someone might give you a 20-minute lecture on camera, then stop talking, and eight seconds later say something witty that pops in their head. Often, that final thought is what the editor uses.
Always have extra SD cards and battery chargers. I have SD cards stashed everywhere—my visor, hat brim, backpack—I hide them in my buddies’ backpacks. I’ve been traumatized by not having an SD card. There will be situations where the hunt or the light is perfect, so you want to capitalize on it. You will fill up an SD card quick. Also, have an extra battery and chargers. Every time I buy a new battery, I buy three chargers and stash them like SD cards.
Accept that you won’t always be able to take the shot, if you are truly passionate about filming your hunt. But if it’s not your profession and you only have so much time to hunt, don’t let filming bog you down and demobilize you. Hunt first and making filming secondary. Don’t let filming take away the enjoyment of what you love to do.
JC: Make sure you see that red light. The first time I was paid to film a hunt—a bear hunt in Alberta—a bear came toward the stand but not into range. I had filmed him for about five minutes, so when he turned to walk away, I stopped recording. Then something changed. He turned around and walked straight in, and the hunter shot him. I pulled back to the hunter, looked at the screen, and realized the little red light wasn’t on. My stomach dropped. I was so immersed in watching the bear through the screen that I forgot to hit record again. I know videographers who have done the same thing or double tapped the record button. Now, I stare at that red light the whole time I’m filming.
Back up your footage. If you leave footage on a card all weekend, it could become corrupt. If you put all your footage on a hard drive, someone could spill coffee on it. Your hard drive could go through baggage and get lost. Put the footage in two spots. I always take one of the hard drives as my carry on, so it’s with me at all times. Backup, backup, backup.
Do the animal justice. Take a minute to tuck the tongue in or cut it off and clean the blood off the nose. Make the animal look the way you remember it coming in. And you don’t have to make a 16-inch fish look like it’s 20-inches by holding it way out.
What do you film to help tell/create the story?
EB: It is a story, so you need an introduction and set up. Sure, there is a climax, but you still need a proper conclusion. You also need to capture the surroundings, journey, emotions, nature, and other supporting elements.
TB: You should try to cover who, what, where, when, and why. In this industry, people want to experience the hunt with you, see something get harvested, and learn how you did it. When I’m watching a hunting show, I want to know where you are, what you are hunting with, and what situation is going to happen to teach me to be a better hunter.
JC: Eyes and hands are two features of a human I always try to get. Your eyes speak so much to your feeling and emotions. From a tight shot of someone’s nose to forehead, you can tell if that person is excited, sad, annoyed, or nervous. If I film a cutaway of a hunter’s eyes as the deer is coming in, the viewer will get a pretty good idea of what is going on.
Think about how you would describe a hunt, season, or day to your buddies at hunting camp and try to isolate the elements—the way the sun rose, the steam coming off the water, the leaves rustling, your dog sitting with steam coming out of his mouth, dew on the grass. Whatever elements stood out in your mind – capture them with a camera. Those minute details bring the scene alive, evoke emotion, and bring back memories.
What are some ways a camera can ruin a hunt, and how do you avoid that?
WATERFOWL
JC: The glare of the sun can be a big challenge when waterfowl hunting. On sunny days, you are waving this glass lens in the sky at birds. When you have 100 sets of eyes looking down getting ready to land and something flashes out of the cattails, it is going to spook them.
They make sunshades for a lot of lenses – it clips on to the end of the lens and adds 2-4 inches. Unless the sun comes in at the exact right angle, it’s not going to shine. Also, you have to learn the point where you can’t aim. Sometimes, you just can’t film the bird like you want to because you know it will spook them.
TB – You need to make sure that a big front lens isn’t exposed and pointed directly at the birds when they are in the sun because it will create a reflection or flash. I typically set up in the break of an A-frame with three to four guys on either side. I stick my camera lens out the front of that and make sure someone brushes me in. Being hidden is key.
TURKEY
JC: Turkeys have phenomenal eyesight, so you need your equipment to blend in. Throwing a 4×4 ft. piece of camo burlap or Army camo netting over the camera and tripod makes a huge difference, and it doesn’t take up much space in your pack. A lot of cameras have a red light on the front that shines when you hit record. I always cover it with electrical tape.
TB: Movement is a huge issue, especially if you are sitting on the ground. When an animal is coming to a call, it is looking for the source of the noise—it’s on alert. If there is nothing to see except you, it makes it easy for the animal to pick you out. Cover your camera with a camo blanket or netting. If you film turkey a lot, you can paint your camera and tripod. Cut some vegetation and put it in front and behind you to add some dimensions.
DEER
TB: Situational awareness is key. Don’t move around a lot. When an animal shows up without a call, it’s easier, and you can get away with more during the rut. When the animal starts moving, you move. Once you get on the animal, follow him. When it stops, you stop. When it starts moving, you move.
Pick a tree with more cover than you usually would—anything to break you up. Cedar trees are great; you basically climb into a bush and cut your way out. Don’t go too high or you will be sky lined.
Do you have any advice on editing?
JC: I personally use Adobe Premier Pro. It is a solid editing software. iMovie comes with most Mac computers. I think editing is made out to be more than it is. You don’t need over-the-top software. You just need to find small segments of your clip and then put them in the right order to tell a story.


