Five Steps to Make Your Own European Mount
By PJ DelHomme
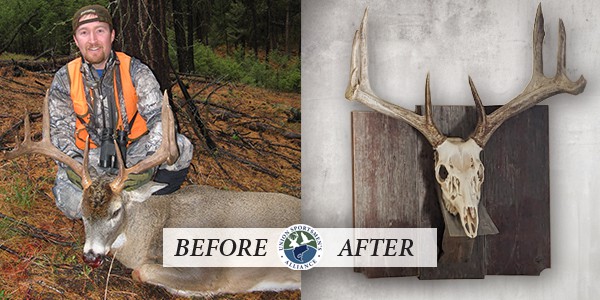
If you’re looking for a cheap winter project to preserve your hunting memories and make your whitetail look way bigger than it is, consider making your own European mount.
What is a European Mount?
Simply put, a European (or skull mount) displays the skull of an animal along with its antlers or horns. In contrast, shoulder mounts feature a trophy with the tanned hide (face) still on, typically from the shoulders.
Both are great options as a hunting memento, but European mounts have numerous advantages over shoulder mounts. For one, you don’t need to worry about the animal’s cape in the field. Correctly caping a head takes time and skills. Another advantage of European mounts is the “wow” factor. By removing the flesh and hide, you literally shrink the footprint of the animal’s face, making that six-pointer look way bigger than it was the day you shot it. Plus, Euro mounts take up less space on the wall. And perhaps the best part? They are easy to do yourself and might cost you a case of beer. Fair warning: the process is a tad gross, so weak stomachs may want to get this done at the taxidermist for around $150.
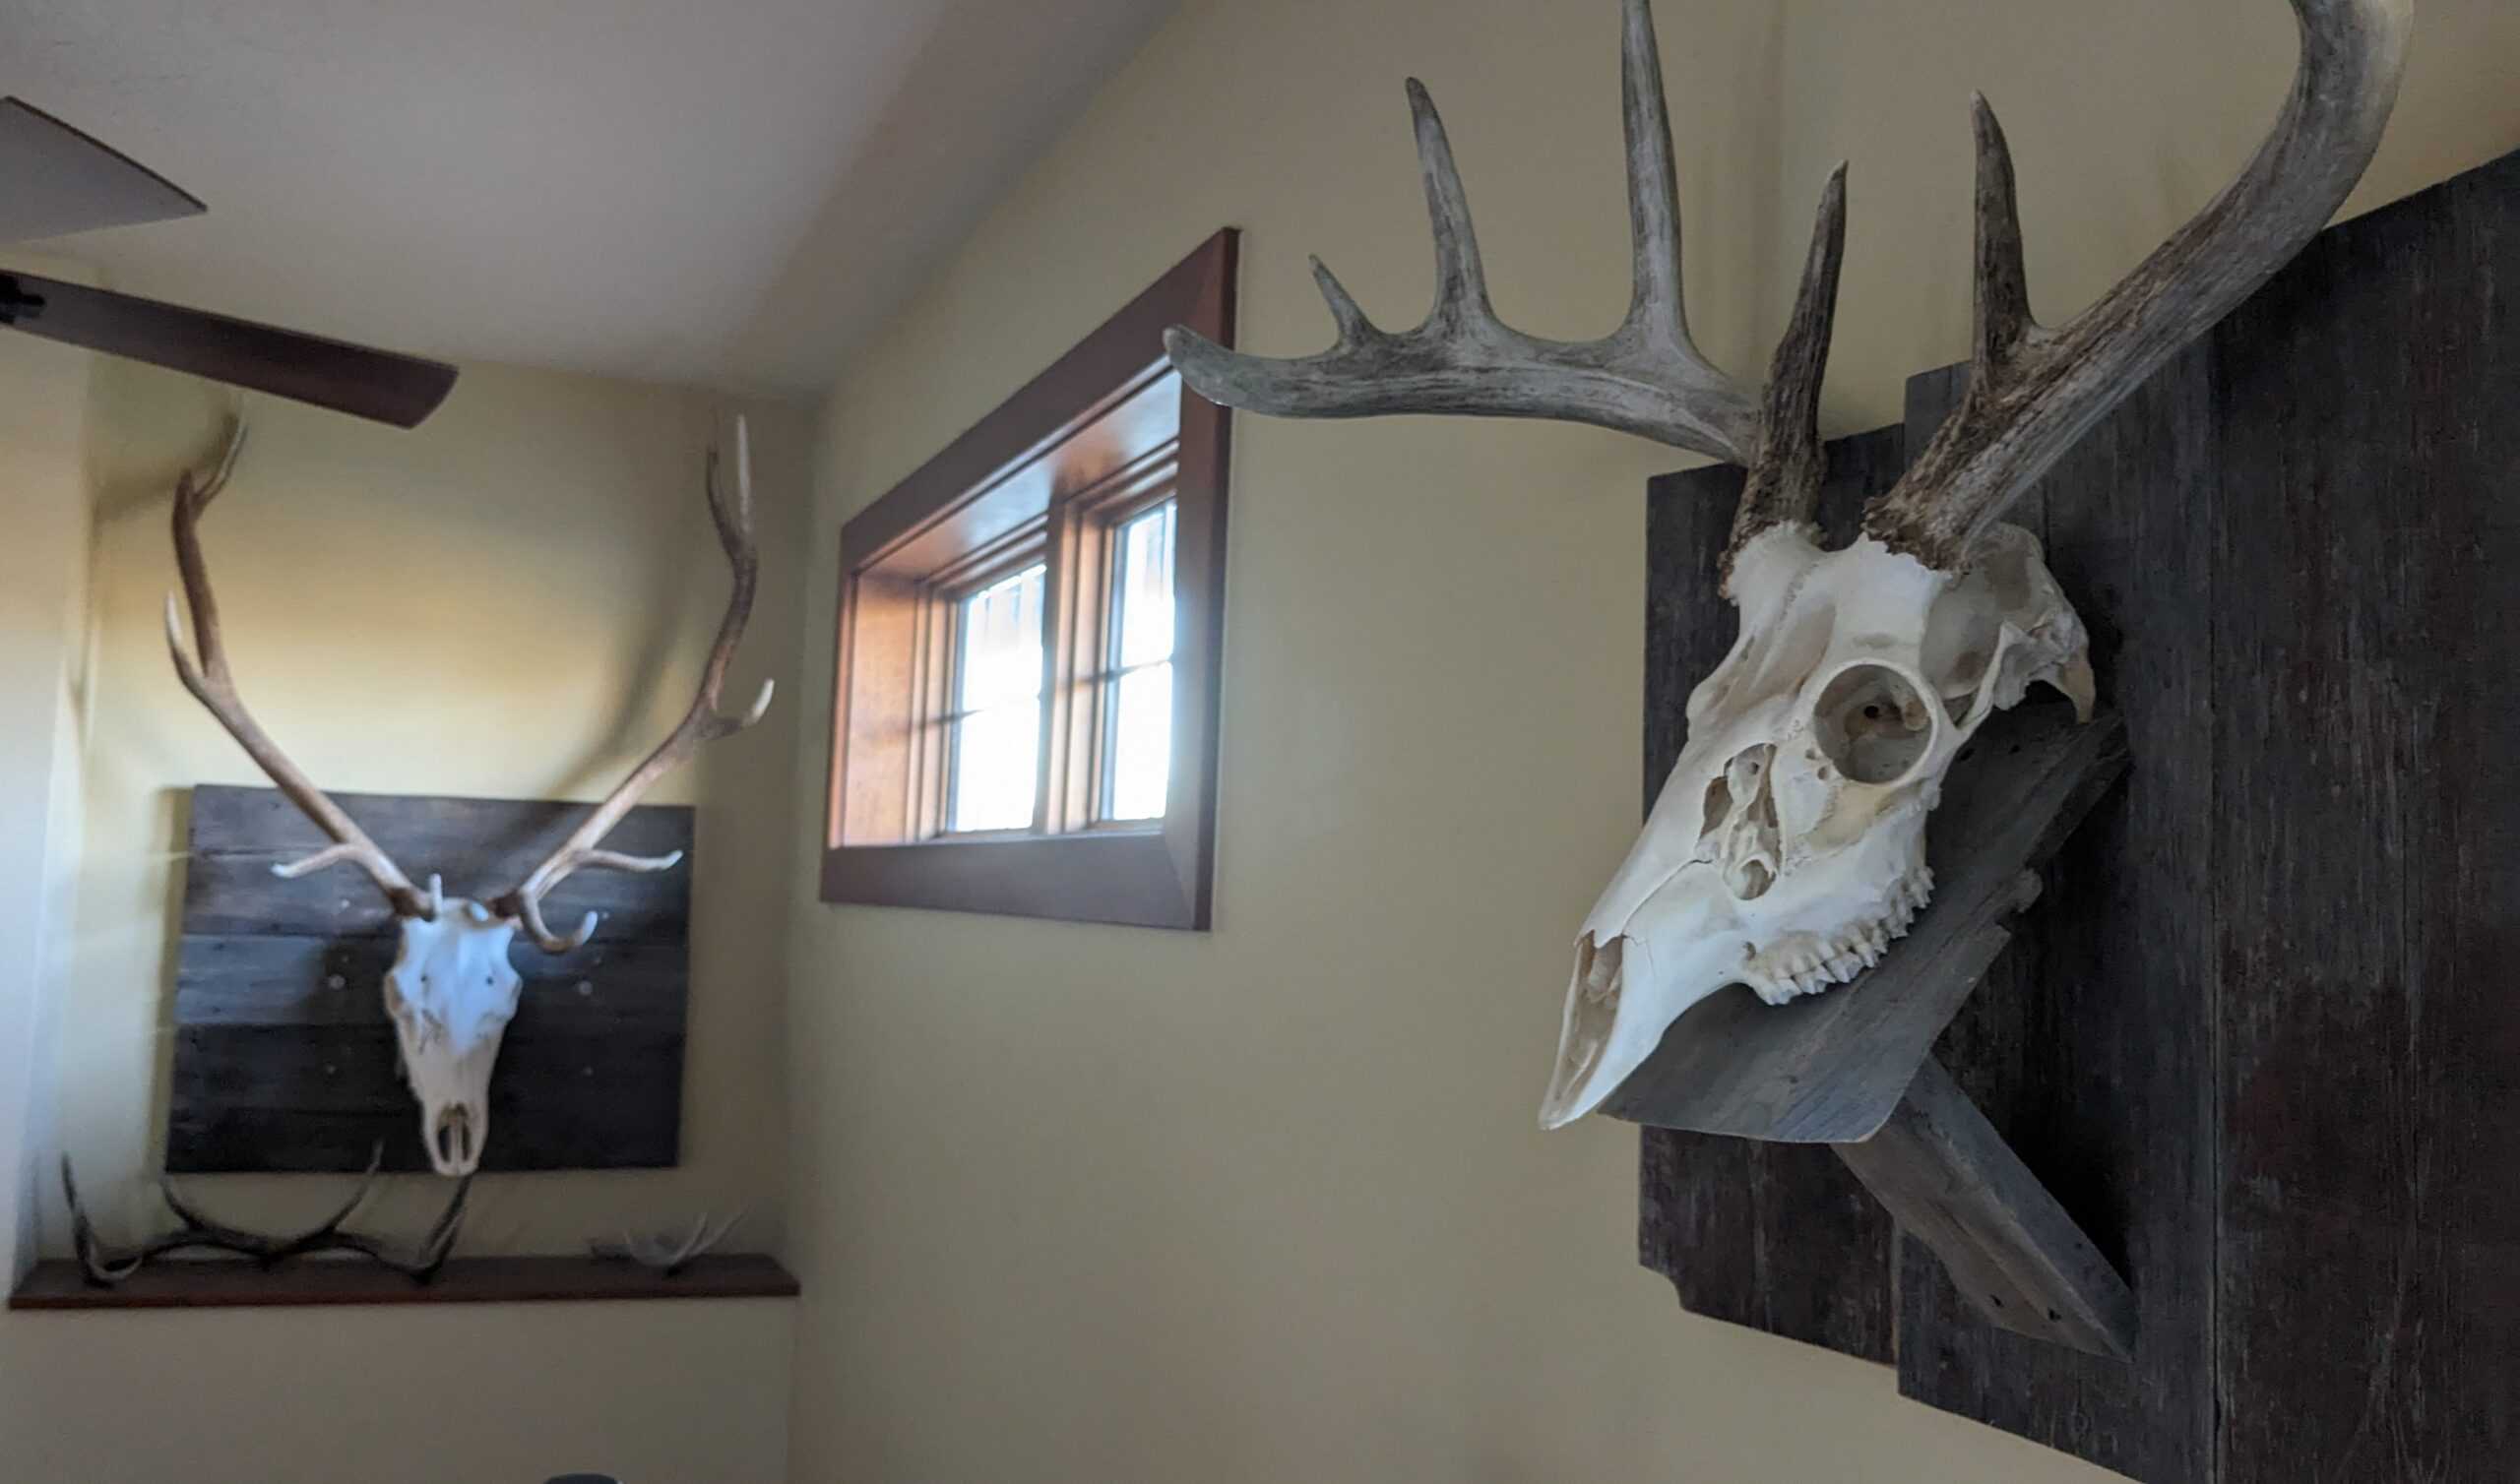
Euro mounts take up less wall space, have a wow factor, and cost much less than a shoulder mount.
The Process:
Step 1: Remove the Hide and Meat
Start by skinning the head. I like to use a flexible boning knife or a replaceable blade knife. Take extra care to remove the hide under the antler bases. After the hide is removed, pop out the eyeballs, hack off the nose, and remove the lower jaw and tongue. I told you it was gross. Be sure to get as much meat off the back of the skull as you can.
Step 2: Boil
Boiling the meat off of the skull requires time, patience, a playoff game, and perhaps a few beers. This is an outside job. Do not do this in your kitchen if you value your marriage. You will likely make a mess, and a simmering head full of brains smells as bad as it sounds. Buy or borrow a propane turkey fryer and find a large (20 qt) pot.
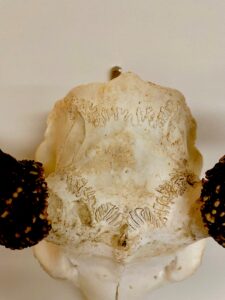
This skull was cooked too hot, which led to discoloration and absorption of fats into the bone.
Fill the pot full enough to completely submerge the skull up to the base of the antlers. At this point, you can wrap the base of the antlers in electrical tape because the steam could discolor them. Crank the heat to get a good simmer. If the water is too hot—as in a rolling boil—it can damage the skull. Check on the boiling skull every hour or so and add more water as it evaporates.
After a few hours on a low boil, the remaining meat should fall off the bone or close to it. Use your knife and needle-nose pliers to pull the meat off. You can jab the coat hanger in the big hole in the back of the skull (foramen magnum) to get those brain bits out of there. One way to expedite the meat removal is to use a power washer if you have one handy. Be ready for meat parts in the face and be careful. Some power washers will destroy some of the delicate bones of the nasal cavity. If meat is still attached, place it back in the pot and continue the boil.
Step 3: Degrease
Even though you removed all the visible meat from the bone, the skull will turn yellow over time if it isn’t properly degreased. If you’re okay with yellow, then you can skip this step, but I highly recommend degreasing.
Fill your bucket with clean, warm water, add a generous squirt of clear dishwashing soap, and mix. Place the head back in the water and allow it to soak for a few more hours. Warm water makes the process work faster. Remove the skull and let it dry.
Step 4: Bleach
Now, it’s time to bleach it. If you haven’t already, wrap the base of the antlers in electrical tape to prevent the whitener from contacting them. Put on some rubber gloves. Using a small paintbrush, apply the 40-volume peroxide cream (whitener). You can buy this online or at a beauty supply store. Take your time. Work the paste into the teeth and every nook and cranny. Once applied, let it dry overnight.
To get any excess paste off the skull, use a wet nylon brush and then rinse it. If the skull isn’t white enough, repeat the process above. If it’s a sunny day, I put my skull outside, but beware the neighborhood squirrels—they will nibble.
Step 5: Hang
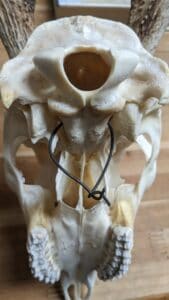
Thread hanger through the two holes in the back of the skull and twist the ends together.
Remember that wire coat hanger? Clip off an eight-inch section, thread it through the two holes in the back of the skull and twist the ends together. See the photo for reference. You can use old barnwood to build an excellent background or hang it up as is. That’s it. You’re done.
If this sounds gross and time-consuming, you can find a local taxidermist who will do it for you. I have taken my skull to a taxidermist who, for $60, uses flesh-eating beetles that work better than boiling. I will degrease and bleach it myself. The downside is a few months of wait time, and the skull has to live in the garage for about a year because of the rotten beetle smell.
This is the perfect project if you need an excuse to hang out in the garage one weekend. Once it’s done, you’ll never look at a turkey fryer the same way again.
Tools Needed
- Needle nose pliers
- Heavy-duty wire coat hanger
- Propane burner
- Propane tank
- 20-qt stock pot
- Electrical tape
- Clear dish soap
- Very sharp boning knife
- Replaceable blade scalpel
- 40-volume peroxide cream
- Small paint brush
- Rubber gloves
- Cold beer (optional)
PJ DelHomme writes and edits content from his home in western Montana. He runs Crazy Canyon Media and Crazy Canyon Journal.
Check Out Other Articles in This Blog Series


