by M.D. Johnson
Yes, it’s true. Over the past 30 years, I’ve been accused—and more than once, mind you—of being cheap.

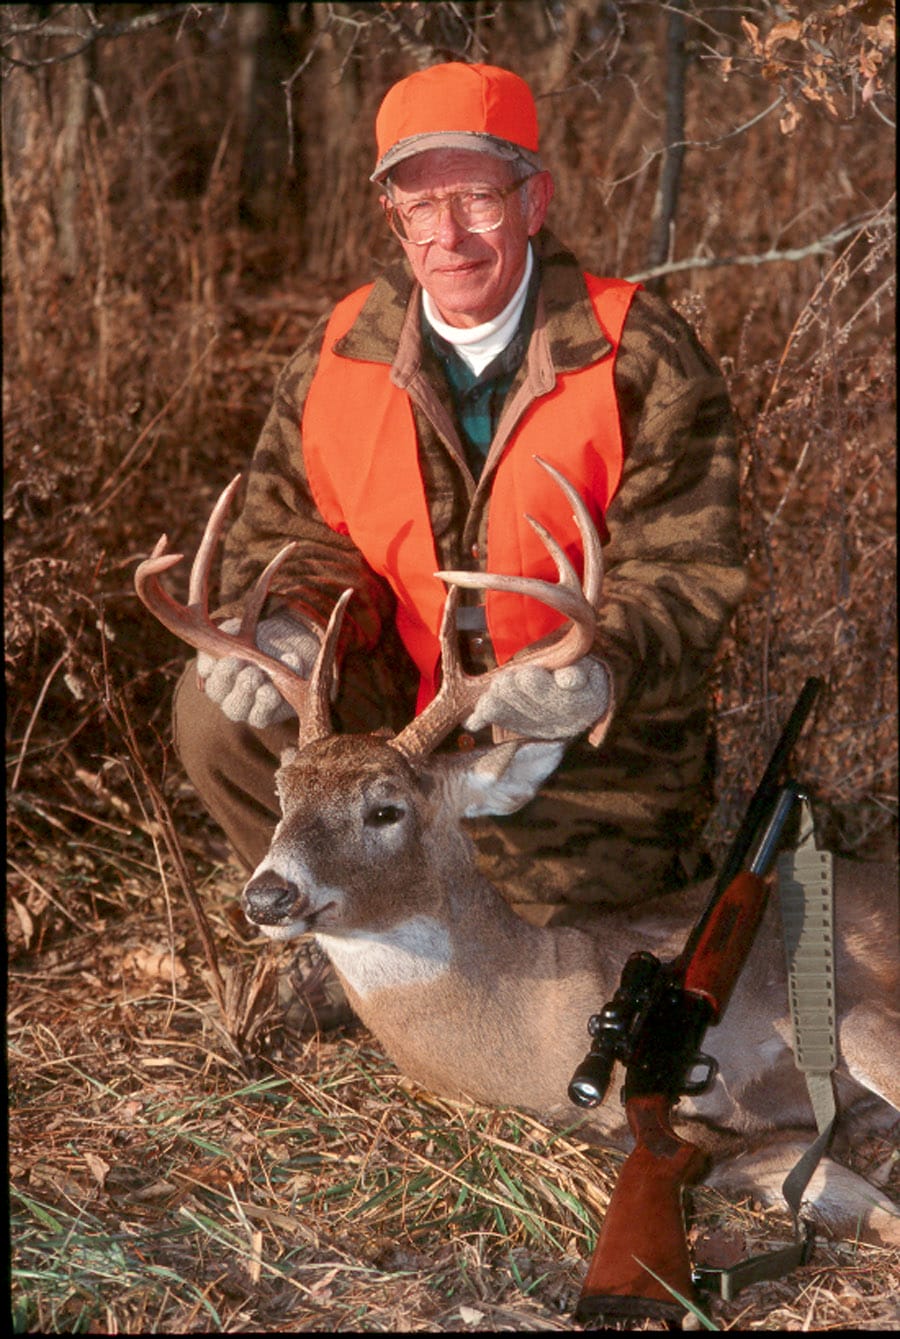
Any hunter knows the great joy and satisfaction of harvesting a deer. The next level of satisfaction is processing your own deer to fill the freezer with the ultimate in organic meat.
Not frugal, not budget-conscious, but cheap.
And you know what? I’m okay with that, especially when it comes to processing the whitetails my wife and I tag each fall and winter. Over the last decade, professional processing for venison, be it deer, elk, or what-have-you, has increased dramatically in price, often to the point where it’s simply no longer affordable to many.
The answer? DIY, aka Do-It-Yourself, processing of their big-game harvests. Certainly, processing your first deer might initially seem a daunting task. However, believe me, it’s not difficult. Yes, there is time involved, and self-processing is a bit of an On-The-Job-Training type of proposition. But when you consider the money you’re saving, and the knowledge that it’s absolutely, positively your venison roasting in that Dutch oven, you’ll soon see it’s definitely time well spent.
It’s trendy these days to eat organic. Well, there’s nothing more organic than killing a deer and handling all of the processing and packaging.
My Processing Equipment List
While I’m a firm believer in keeping things simple, I’m also a stance advocate of having the proper tools for the job. DIY deer processing is no different. If you have the right tools, you’ve taken 50 percent of the challenge out of the task. Before I get started… rather, once the animal is home, hanging in the garage, and the woodburner going to knock the chill off—I assemble the following equipment for the preliminary or outside work:
• 4.25-inch knife, a Buck #2243 mid-spined, with some backbone
• a 5-inch Edge Brand #487 stiff, with lots of backbone for tough spots
• a 6-inch Buck #226, flexible blade for fillet type work
• Firestone wheel sharpener
• Meat saw
• Shop vacuum
• Paper towels
For the finish or inside work, I’ll have the following:
• 7-inch Rapala fillet knife
• Clean restaurant bus tubs – 1,710 cubic inch interior
• Vacuum packer and assorted bags
• Butcher paper
• Masking tape
• Indelible Sharpie marker, black
True, your equipment list might be a tad different—this knife for that favorite one, or an electric sharpener—but the above will get you started on the right foot, not to mention that you’ll likely already have most, if not all of these items in your cabinet already.
Step-by-Step DIY Deer Processing
It’s true that exceptional wild game on the table begins in the field. Tasty meat begins with quick harvest, proper field-dressing and good temperature management practices, i.e. keep it cool, but not frozen. Here, let’s assume we’re dealing with a medium-sized whitetail. The animal has been field-dressed, and is hanging via a gambrel in the garage or back yard if you’re living in the country. The step-by-step from field to skillet involves:
• Skinning and trimming. I skin my deer immediately because a warm carcass is easier to work with than a cold, or worse, a frozen one. After skinning, I trim all the fat, connective tissue, and blood-shot meat away. Here’s a great tip… a shop vacuum makes short work of all the stray hair left clinging to the carcass; however, be sure to empty the canister before the weather warms. I learned this one the hard and smelly way
• If the temperature ranges from 35 to 40 degrees, I’ll slip a cheesecloth game bag over the carcass and let it age for up to two weeks. Yes, I said 14 days. However, if there’s a chance of it freezing solid or, on the other end, becoming too warm as in 40+ degrees, I’ll process the animal immediately. We’ll assume the latter for our purposes here
• With the 6-inch Buck knife, I remove the backstraps on either side of the spine. These are trimmed of all fat and connective tissue, and I cut them into 1-inch butterfly chops or small steaks and vacuum pack them in meal-size portions. Don’t forget about the true tenderloins located opposite the backstraps just below the hips on the inside of the body cavity
• The front shoulders, legs and remaining trimmings are removed and put into a 5-gallon bucket lined with two clean trash bags to be ground into burger. Using the meat saw, I cut through the spine ahead of the hips, leaving just the hindquarters to be worked. Keeping the saw busy, I cut through the pelvic bone, which gives me two separate hindquarters to contend with.
• Each hindquarter is processed identically. The shank (lower portion) is removed, cut to size, and dropped into the burger bucket. The hindquarters are deboned and cut into roasts by muscle group, or into steaks, whichever you prefer. It’s important to understand I’m not a professional butcher; therefore, my roasts and steaks always—and I do mean always—look different from animal to animal. To most of us, looks don’t matter, for it’s all about taste. If you’re unsure with the hindquarters, simply let the various muscle separations be your guide. It’s a learning process, you really can’t do it wrong.

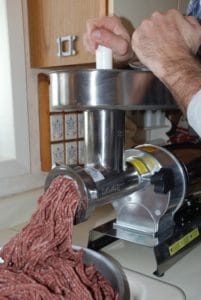
A quality grinder is well worth the investment and will pay for itself after only several deer are processed.
• Now for the packaging. Steaks, roasts and chops are vacuum-sealed and will keep for up to a year in the freezer. Burger is ground (see below), and mixed with ground pork fat at a ratio of approximately 7:1, burger to fat. The finished burger is shaped into 1-pound blocks, wrapped in Saran Wrap followed by quality butcher paper, and marked with the initials VB (Venison Burger) and the date.
Gear Spotlight: Cabela’s 1HP Electric Grinder
For years, I kept telling my wife, Julia Carol, I wished I had an electric grinder. With such an appliance, I could complete the deer processing—well, process in its entirety, along with saving the now $100 or more to take the trimmings to a butcher, simply to be ground into burger. Finally, I pulled the proverbial trigger and purchased a commercial grade 1HP electric grinder from Cabela’s (cabelas.com). Yes, the $500 upfront cost might come as somewhat of a shock; however, I like the speed and all-round capabilities of the larger unit. NOTE: Cabela’s also offers a 3/4HP model for $379, and a 1/2HP for $329. But with the price of professional processing on the rise nationally, it will only take two or three deer to reach the break-even point on my purchase.
A long list of accessories is available for our particular unit (#22), including sausage stuffers, jerky slicers, juicers, a burger press, even a 7-gallon meat mixer. All of the inner-workings are dishwasher safe, and the grinder itself can be cleaned in just minutes. The grinder is simple to operate, and, with the optional foot-operated power switch attached, a joy to use.
The Union Sportsmen’s Alliance website is designed to provide valuable articles about hunting, fishing and conservation for members of AFL-CIO affiliated labor unions and all sportsmen and sportswomen who appreciate hunting and fishing and want to preserve our outdoor heritage for future generations. If you would like your own story and experience from the outdoors to be considered for our website, please email us at USAmembers@unionsportsmen.org.


