How to Mount a Rifle Scope and Bore Sight It
By PJ DelHomme
With the right tools and a little bit of know-how, you can mount your own scope and be ready for the range in 20 minutes. Here’s how.
EQUIPMENT NEEDED:
Scope Rings (Leupold)
Scope Bases (if not Picatinny rail)
Reticle Levels (Wheeler)
Gun Vise (Tipton)
Torque Wrench (Wheeler)
Thread Locker (Loctite)
Laser Bore Sighter (SiteRite)
STEPS:
Level the Rifle
A level rifle ensures that your reticle will be level. Leveling the entire rifle is not absolutely necessary, but it helps to make sure that everything is precise. When your goal is to hit steel at 1,000 yards, precision matters.
To level the rifle, use a two-piece reticle level and calibrate them. First, place the smaller reference level on the scope’s base perpendicular to the vertical axis of the gun. Rotate the gun until the bubble is centered. Then, place the barrel clamp level at the end of the barrel and calibrate it to the reference level. Your rifle is already level, so don’t move your rifle. Instead, adjust the barrel level. Once the bubble is centered at the barrel, remove the reference level but leave the barrel level on as a future reference point.
Adjust the Scope Rings
Our Ruger American came with a Picatinny rail, which replaces more traditional scope bases. If your rifle did not come with a rail, you may need to attach a scope base that attaches the scope rings to the rifle. It’s an extra step and cost, which makes a Picatinny rail all the more attractive.
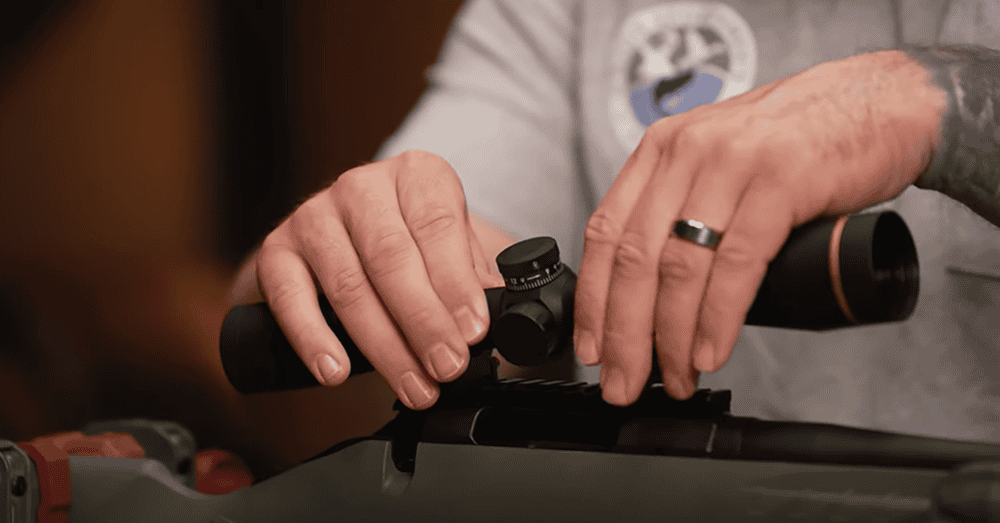
To mount this scope, adjust the distance between the two scope rings and leave just enough space between the adjustment ring and the objective lens. You don’t want the rings touching either of those elements.
Check eye relief by getting behind the gun and pressing the comb against your cheek, just as you would when shooting. You should see the entire sight picture through the scope. If you see a pinhole or halo, then adjust the scope front to back until the picture fills the lens.
Torque Scope Rings to Specs
Adjust the torque setting on your wrench to the specs that came in the instructions. If you tighten the rings too much, they can break. On a Picatinny rail, set the rings all the way to the front of the rail before tightening. Put a thread locker on the screws at this point. Get all the base mount screws lightly tight before torquing them.
Set the scope in the bases. Place the rings on top. Starting with the front ring, tighten those screws lightly just to keep the scope in place.
To level the reticle, place the reference level on top of the dial until the bubble centers. Then slowly tighten the rings, using a criss-cross pattern. Once all the screws are tightened, check your bubble and adjust the scope if necessary. The last step is to set all the screws with the satisfying click of the torque. Repeat the same process with the rear scope ring.
Bore Sight It
Once the scope is mounted, it needs to be calibrated to the barrel. This is called bore sighting. There are several different ways to do this, including taking it to your local sporting goods store, which should do it for free. If you want to do it yourself, you can use a laser bore sighter that fits into the rifle’s chamber and shoots a laser out of the barrel.
At the range or in the backyard—any place that allows you to get 50 yards out—place the laser in the chamber. With the rifle in the vise, look at the little red dot through the scope. Adjust the up/down and left/right axis of the reticle to line up with the dot. Remember, you’re not zeroing your rifle. All you want to do is get your bullet on paper when you start shooting. Then you can walk in your shots to your desired zero. A laser bore sighter is going to save you a lot of money on ammo.
You can also center it the old-fashioned way without a laser. Simply remove the bolt and look down the barrel toward the target. When the target is centered in the barrel and without moving the rifle, adjust the crosshairs on your scope. This will get you close enough for the range.
And that’s it. You’re ready to roll. There is an initial gear investment to get everything right when mounting a scope, but consider how much you spent on that scope, rings, and rifle. Once you have the right tools, the process is easy and downright relaxing. Keep an eye out for the next installment of our SMART Tips & Tricks Series.
Related Articles & Videos
Ballistic Calculators and Hunting – Union Sportsmen’s Alliance


