

How to Upgrade the Chassis on a Remington 700 Rifle
By PJ DelHomme
The Remington 700 has earned its place as America’s most popular bolt-action rifle platform, and for good reason. Its action provides an excellent foundation for customization, but one upgrade stands out: installing a precision chassis system. I know what you’re thinking. You say stock, we say chassis. In this case, though, the chassis is simply the frame that holds the action and the barrel. This modification can transform your reliable hunting rifle into a tack-driving precision instrument, while adding a level of adjustability that is simply not possible with traditional stocks.

Customizing your chassis gives you the advantage of adjustability.
The Chassis Advantage
Traditional rifle stocks, while functional, have inherent limitations. Wood can warp due to changes in moisture, and even high-quality synthetic stocks can flex under stress. A precision chassis system eliminates these issues by providing a rigid aluminum or steel foundation that maintains consistent geometry shot after shot. The real game-changer, however, is adjustability.
Modern chassis systems allow you to customize nearly every aspect of how the rifle fits and feels. The cheekpiece adjusts both vertically and horizontally to ensure perfect scope alignment, regardless of the optic you choose. Length of pull can be modified to accommodate different shooting positions or seasonal clothing changes. Even the grip can be swapped out, with options ranging from vertical to angled configurations, different textures, and various colors to coordinate with your outfit.
The MDT ESS chassis embodies this philosophy, though excellent alternatives exist from manufacturers like KRG, XLR Industries, and KX Defense. Each brings unique features to the table, but they all share the common goal of maximizing the Remington 700’s potential through enhanced rigidity and adjustability.
Compatibility Considerations
Before purchasing any chassis system, ensure it’s specifically designed for the Remington 700 action. This may seem obvious, but with so many rifle variants and custom actions on the market, compatibility issues can arise. In addition, verify that your chosen chassis accommodates your barrel’s contour. Most modern chassis systems are designed around Sendero-style contours, which cover the majority of aftermarket barrels. However, it’s always wise to confirm compatibility before making an investment.
The Installation Process
Installing a chassis system might seem daunting, but manufacturers have streamlined the process considerably. The entire installation can typically be completed in under an hour, using basic tools and paying close attention to detail.
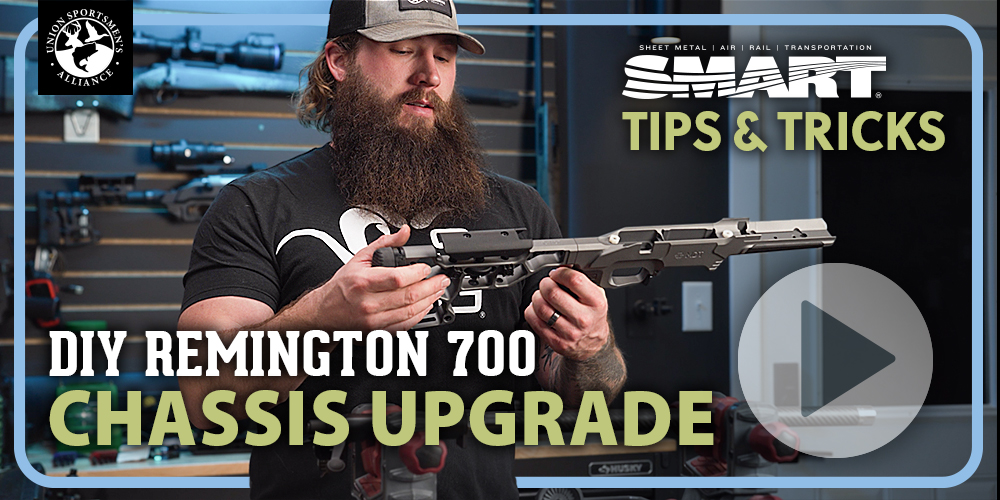
Watch a short video on how to DIY your rifle chassis upgrade.
Step 1: Prepare Your Barreled Action
Begin by removing your barreled action completely from its original stock. Ensure the rifle is unloaded and the safety is engaged throughout the process. The recoil lug, that small but critical component that transfers recoil forces from the action to the stock, needs to be properly aligned before installation. If you’ve previously worked on the action, double-check this alignment using appropriate tools.
Step 2: Position the Recoil Lug
The chassis is designed to accept the recoil lug in a specific orientation, and it should drop into place easily. If you encounter resistance, stop and verify compatibility rather than forcing components together. This component is critical for proper function and safety.
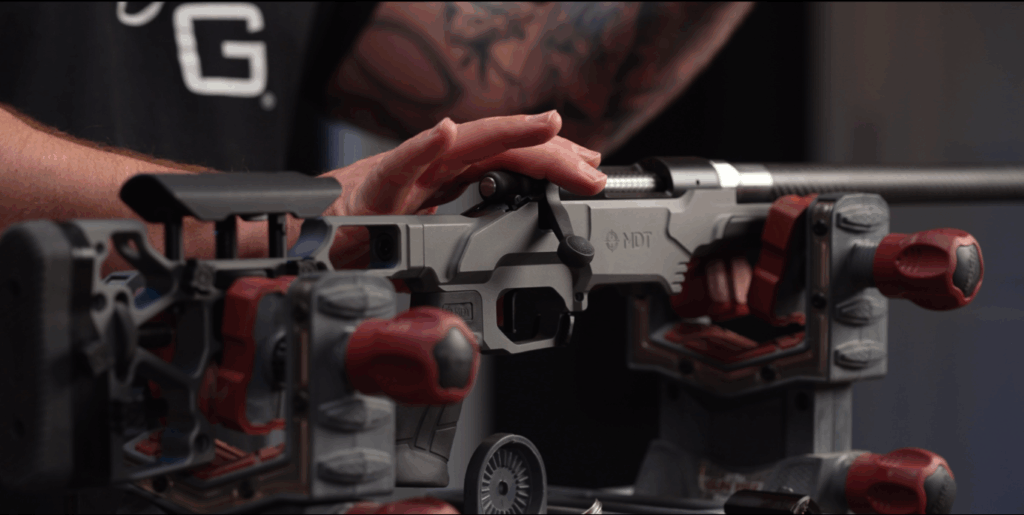
Step 3: Install the Barreled Action
Once positioned correctly, the entire barreled action assembly lowers into the chassis with satisfying precision. You’ll immediately get a sense of how the completed rifle will feel and balance.
Step 4: Install Action Screws
The magic happens when you flip the assembly over and begin installing the action screws from underneath. The front action screw threads in easily, followed by the longer rear screw. Both should thread smoothly by hand until they begin to hold the action securely in place.
Step 5: Apply Proper Torque
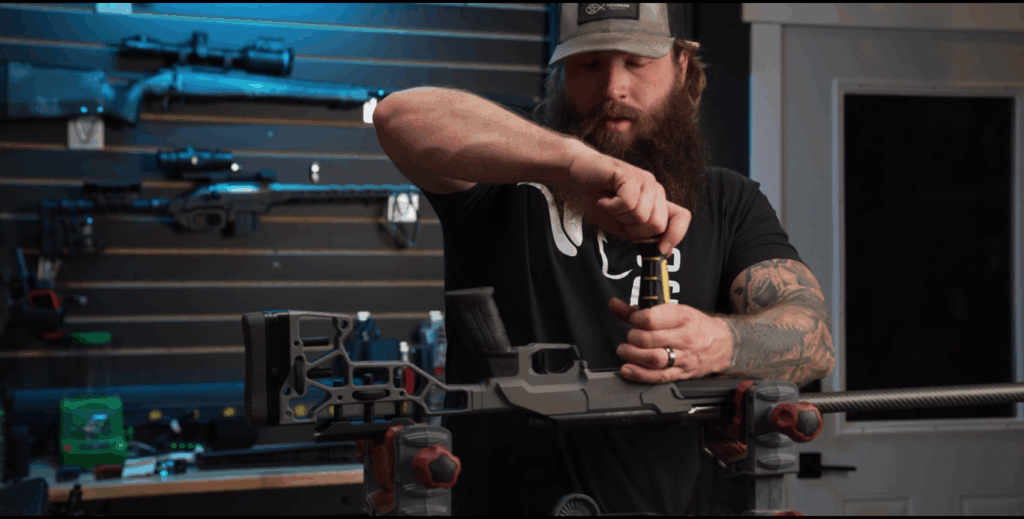
It’s very important to check the specs to know the torque weight for your action screws.
Here’s where precision matters most. The front action screw requires exactly 65 foot-pounds of torque, while the rear screw needs 45 to 55 foot-pounds. These aren’t arbitrary numbers—they represent the optimal balance between secure mounting and avoiding stress that could affect accuracy. Using a quality torque wrench and the appropriate 3/16-inch hex key, apply these specifications methodically.
Step 6: Install Barrel Hood (If Applicable)
Many chassis systems include an additional barrel hood that slides over the barrel for extra rigidity. This component requires careful handling to avoid scratching your barrel’s finish, but it adds another layer of precision to the system. The hood typically mounts with three screws from underneath, following the manufacturer’s specific torque requirements.
Beyond Basic Installation
Once the mechanical installation is complete, the real customization begins. The adjustable cheek piece should be positioned to provide a natural, comfortable cheek weld while ensuring proper scope alignment. This may require some experimentation, especially when switching between different shooting positions or optic configurations.
Length of pull adjustment affects everything from comfort to shooting consistency. Too short, and you’ll crowd the scope; too long, and you’ll struggle to reach the trigger naturally. The beauty of a chassis system lies in being able to fine-tune these measurements until everything feels perfectly natural.
Performance Expectations
Once you’re on the range, the transformation from factory stock to precision chassis is immediately apparent. The rifle feels more substantial and balanced, with a rigidity that translates directly to improved accuracy. Groups that were previously acceptable become impressively tight, and the consistency from shot to shot improves dramatically.
To be fair, the chassis adds weight and bulk that makes it better suited for applications like coyote hunting, truck gun duties, or deer hunting from fixed positions. The trade-off is worthwhile for most precision-oriented applications, where the enhanced stability and adjustability more than compensate for the additional weight.
Modern manufacturers have made chassis installation remarkably straightforward, transforming what was once a complex gunsmithing task into a manageable project for most rifle enthusiasts. The key is taking your time, following proper procedures, and adhering to proper torque specifications.
The Remington 700’s enduring popularity stems from its combination of inherent accuracy and upgrade potential. A quality chassis system unlocks that potential, providing the foundation for a truly exceptional precision rifle that’s perfectly tailored to your needs.