

Make Your Own Deer Jerky
With just a couple of hours in the kitchen and a few spices, you can make a pile of your own venison jerky to enjoy for the entire year. We’ll walk you through it.
Choosing the Best Cut for Venison Jerky
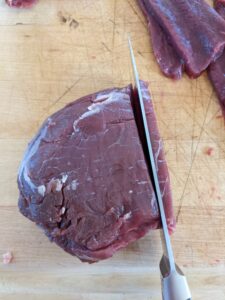
Lean cuts like front shoulders, rear-quarter roasts, or the top round are ideal for jerky. These cuts have minimal fat, which helps keep jerky shelf-stable and prevents spoilage. Be sure to trim all fat, silver skin, and tendons. To make slicing easier and more precise, partially freeze the meat for 30 minutes.
Pro Tip: Slice Strategically
Slice the meat against the grain into thin strips about ¼-inch thick. Going against the grain shortens the muscle fibers, making the jerky easier to chew and more tender. Slicing with the grain results in tougher, stringier jerky.
Secret Sauce: Flavor-Packed Venison Jerky Marinade
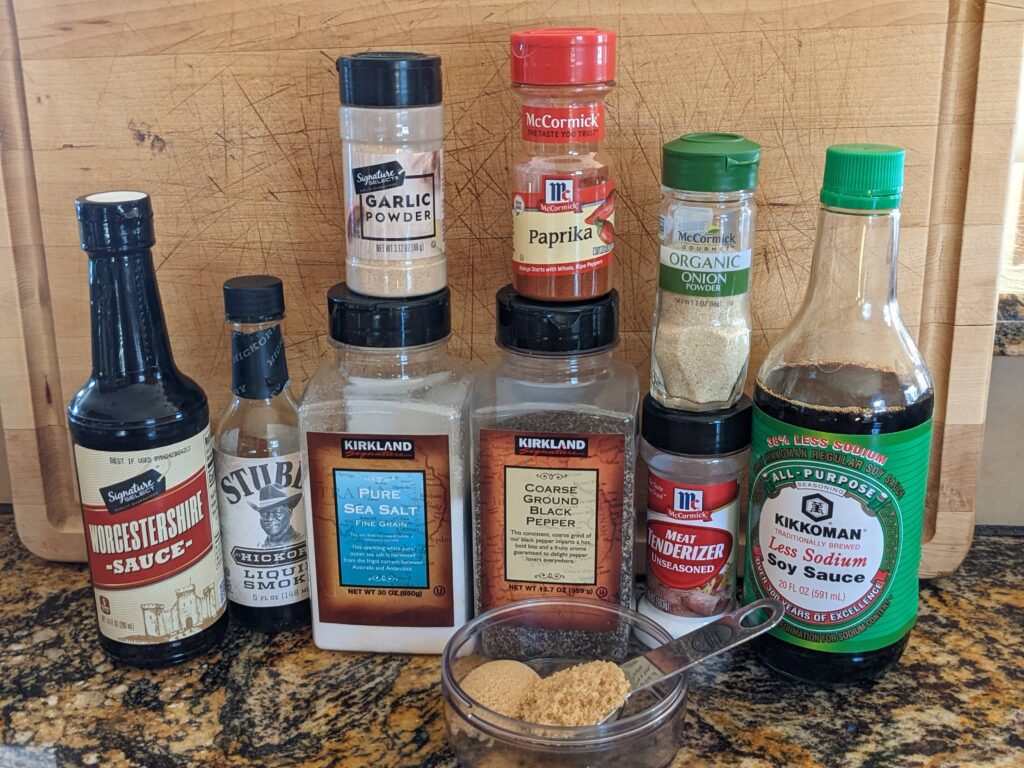
A great marinade is key to delicious jerky. Here’s a recipe for every two pounds of venison:
- ¼ cup soy sauce
- 2 tablespoons Worcestershire sauce
- 2 tablespoons liquid smoke
- 2 tablespoons brown sugar
- 2 teaspoons salt
- 1 teaspoon ground black pepper
- 1 teaspoon meat tenderizer
- 1 teaspoon garlic powder
- 1 teaspoon onion powder
- 1 teaspoon paprika
Mix ingredients until sugar and salt dissolve. Coat sliced venison thoroughly in the marinade, refrigerate overnight to fully absorb the flavors. For variations, try adding cayenne pepper or red pepper flakes for heat, or substitute paprika with smoked paprika for deeper smoky notes.
Drying Your Venison Jerky: Dehydrator vs. Oven
Using a dehydrator is the most reliable method, but a decent one will set you back $85-$200. If you plan to make jerky every year, it’s worth the investment. If you’re just starting out, you can use your oven. Here are the steps for the oven method.
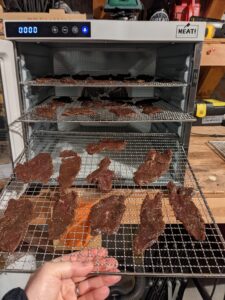
- Remove all but the bottom rack from the oven. Place a pan at the bottom of the oven on top of the remaining rack to catch any marinade that may drip.
- Preheat to 158–160°F.
- Lay the strips of meat across the oven racks and rotate the racks from top to bottom at least once.
OR
- Hang the strips vertically by placing a toothpick in the top of each strip and hanging the strips between the grates of the oven rack in the highest position in the oven. The strips should dangle vertically with the toothpick acting as a hanger.
- Prop the oven door open slightly so air can circulate.
The drying process typically takes 4-6 hours. Keep an eye on the texture. Jerky should be dry but pliable, not brittle. Do not over dry your jerky! You don’t want to eat meat crackers.
Common Jerky Mistakes to Avoid
- Overcooking or overdrying jerky. Getting the perfect texture takes a little experience, and you don’t want to make peanut brittle.
- Using fatty meat leads to spoilage and off-flavors since fat doesn’t dry well.
- Skipping the marinade or under-marinating can make the jerky bland and less tender.
- Basting jerky during drying can cause uneven drying and sticky patches. Instead, adjust the marinade quantity before dehydration.
Health Benefits of Venison Jerky
Still trying to convince your spouse to try your jerky? Drop some of these health hints when you offer up a sample. It’s a high-protein, low-fat snack—a good source of iron, zinc, vitamin B12, and amino acids. Compared to beef jerky, venison is leaner and contains fewer calories, making it an excellent choice for weight management and sustained energy. Plus, you know where that meat came from because you killed it.
Storing Deer Jerky
Allow jerky to cool completely before packaging. Store in vacuum-sealed bags or airtight containers. Refrigerate or freeze for a longer shelf life. Home-dried jerky typically yields a 10:1 meat-to-jerky weight ratio (e.g., 2.2 lbs fresh meat gives about 0.2 lbs finished jerky).
PJ DelHomme writes and edits content from his home in western Montana. He runs Crazy Canyon Media and Crazy Canyon Journal.
This article was made possible by Union Plus, a proud USA National Partner.