How to Sight In Your Bow:
A Clear and Practical Guide
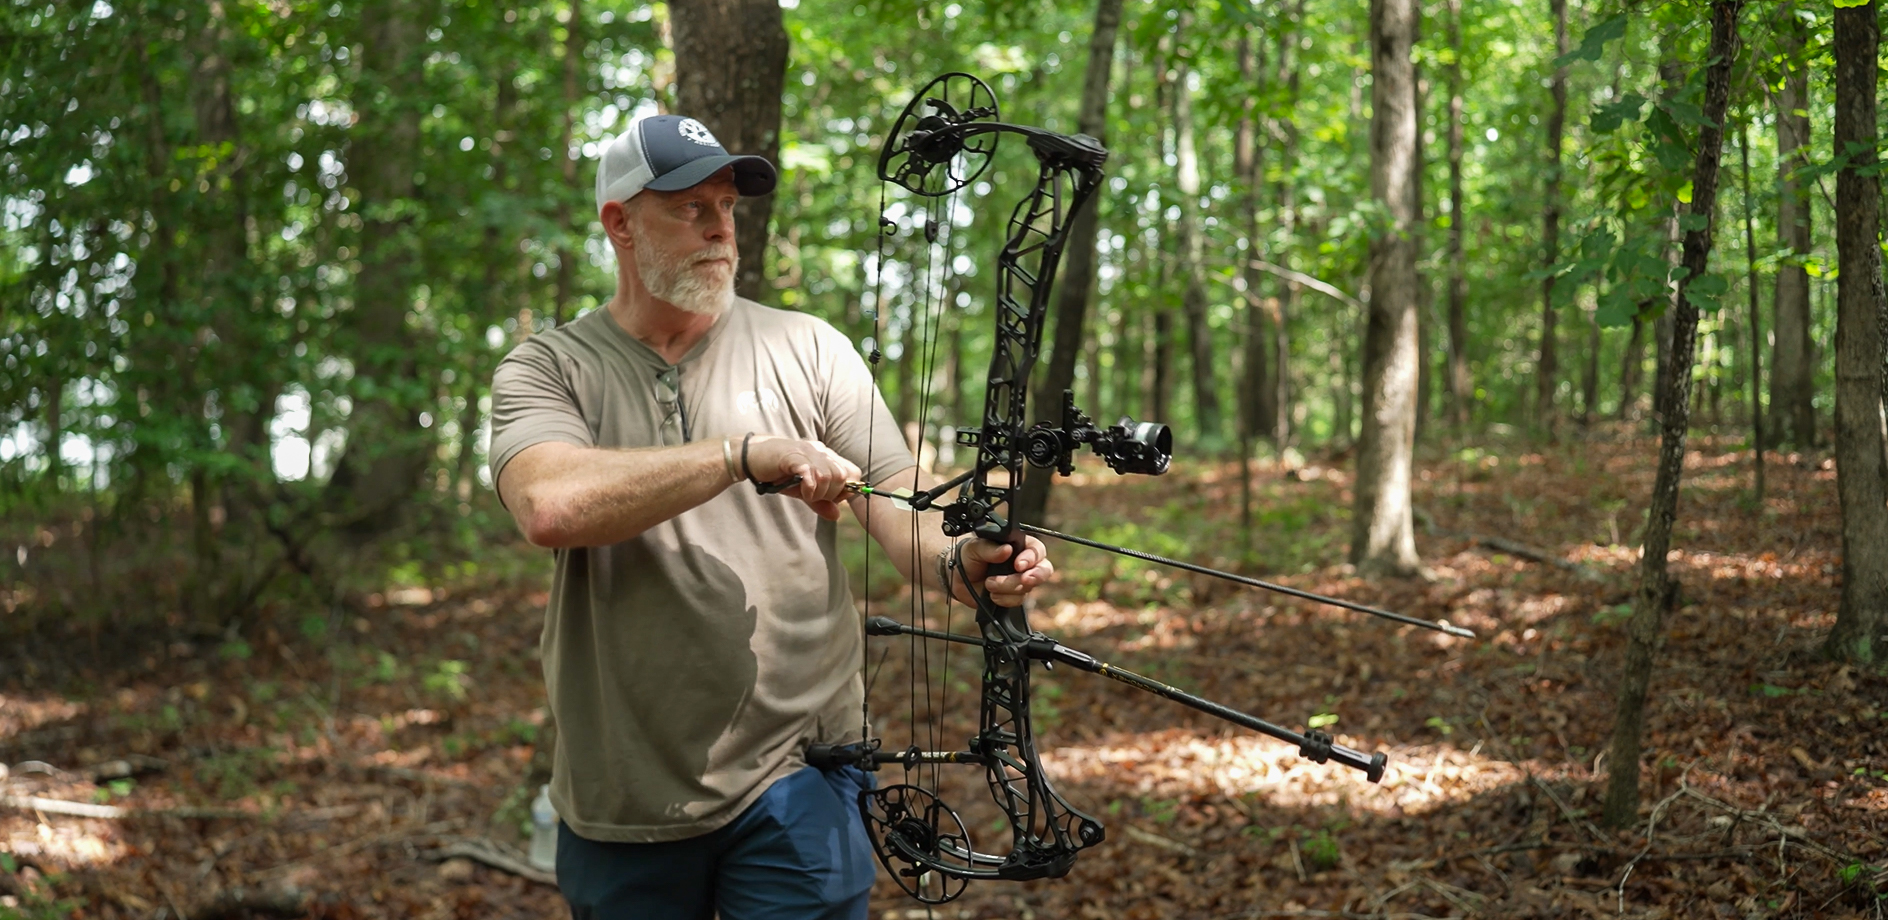
Like any tool, proper calibration and maintenance are critical to completing the task at hand. That’s true for boom trucks to nail guns—and even your hunting bow. A properly sighted bow is essential for consistent accuracy that results in clean kill shots. The process is relatively easy, but it can also be insanely frustrating if not done correctly. We’re here to help you save time and money to help you hit the bullseye (or at least come close) every time. Our archery guru, USA Director of Field Operations Kevin Grubbs, walks you through the sighting-in process.
Step 1: Adjust Left and Right (Windage)
Place a strip of high-vis tape (ex. Painter’s tape) vertically on your target. Start at about 20 yards. Shoot groups of three arrows to see where they land relative to the tape. If your arrows group left or right, move your sight in that direction (follow your arrow) and retest. Repeat until your groups are centered horizontally. This initial windage adjustment is the easiest and should be dialed in first before moving to vertical adjustments.
Step 2: Adjust Up and Down (Elevation)
Once horizontal alignment is set, place a strip of tape horizontally on your target and shoot from 20 yards again. If shots hit high, raise your sight to bring impacts down, and if low, lower it. Some sights have adjustments for the pin housing or the pin itself. Make small adjustments and reshoot until your arrows hit level with your aiming point. Don’t make big adjustments. Most sites only need minor adjustments. The last thing you want to do is miss the target entirely.
Step 3: Extend to Longer Distances
After 20 yards, move back to longer distances like 30 and 40 yards. Repeat shooting groups and adjust individual elevation pins accordingly to compensate for arrow drop. Continue this process for as many pins as your sight has at their respective yardages.
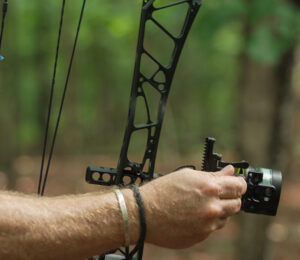
Step 4: Use Calibration Tape for Movable Sight Dials
Note: This process may vary slightly based on the manufacturer. Most sights will come with instructions on the sighting in process.

If your sight has a movable dial, apply the calibration tape to the dial provided with your sight and start at 20 yards and progressively step back through longer distances, adjusting the dial continuously. Once you reach your maximum distance (e.g., 60 yards) and feel confident, note the dial’s calibration number. Applying the correct sight tape that corresponds with the calibration number ensures your dial settings are repeatable and accurate, saving time in the future.
Step 5: Patience and Fine Tuning
Remember that your shooting skills can vary day to day, so patience is crucial. This also applies when selecting sight tape. Shoot multiple days before you commit to a sight tape. Take your time, be flexible with adjustments, and practice regularly. Fine-tuning over time will yield consistent and reliable results.
Watch Complete Compound Bow Set Up & Tuning
Special thanks to the following sponsors for making this video series possible:
International Association of Sheet Metal, Air, Rail and Transportation Workers (SMART)
International Brotherhood of Electrical Workers (IBEW)
National Electrical Contractors Association (NECA)
United Association/International Training Fund’s Veterans in Piping Program (VIP)
Ullico
Related Articles
How to Build and Use a DIY Paper Tuner for Bow Tuning: A Step-by-Step Guide