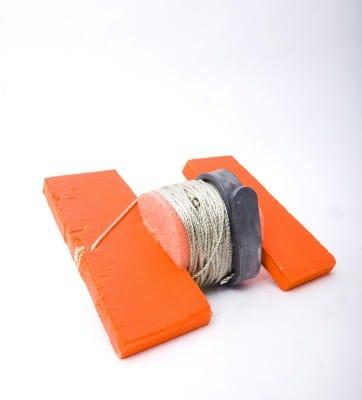
 Fall is one of the times I start to fish deeper and mark more typography while I run a boat and watch a screen. Fishing markers or buoys are indispensable tools to mark and run large areas of water. Although they come in an array of materials and are relatively inexpensive, they rarely seem to fit the individualized needs of freshwater anglers. Many have cords that are too thin and tangle, or weights that are not heavy enough, while others come with way too much line.
This month I’ll show you how to cut, wrap and paint your way the perfect buoy that best suit your freshwater angling needs. The project will take less than an hour to make about three markers that will be easy to set, locate and store in your boat.
You’ll need some orange-glow spray paint, plywood scraps, a few duck decoy anchors, a water noodle and some waterfowling decoy line.
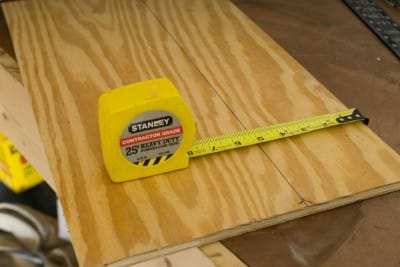
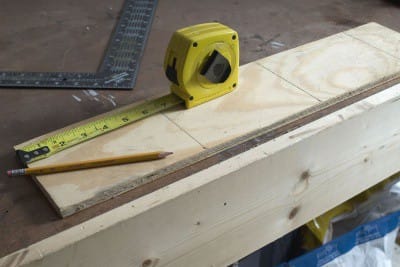
1. Take your 5/8″ or 3/4″ thick plywood scrap (1/2″ would get you by, however, the markers tend not to last nearly as long) and mark the piece to cut a five-inch wide length with a circular saw.
2. Take your 5″ board and measure across it every 6 1/2″ making horizontal blocks, then cut with a circular saw.
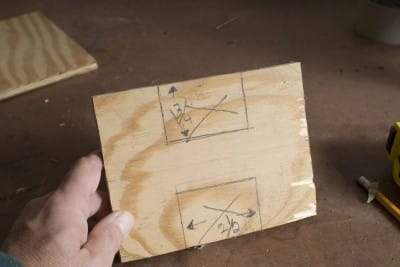
3. Notch out your “H” by cutting out a 2 ½” x 1 ¾” center cut on each side of the wood block with a jigsaw. When finished, you should have a block that looks like an “H” with an approximate 5″ by 6 ½” outside diameter. Don’t worry if your proportions aren’t perfect, the buoy will still work just fine.
Tip: Once you’ve made a few markers and believe you’ve found the “perfect” buoy, you can upgrade from the scrap plywood template to marine grade boards to increase the buoy life span to a couple of decades.
4. Take sandpaper and clean off the cuts so there are no burrs or rough edges.
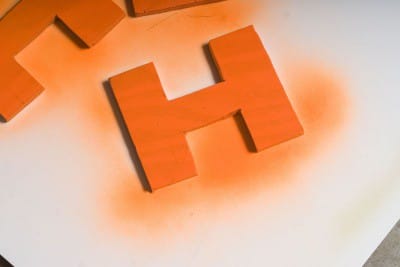
5. Once your “H” is cut and clean, take a can of bright fluorescent colored paint and spray both sides of the board twice and let dry. For safe ventilation, paint the blocks outside.
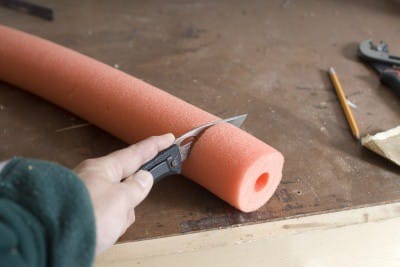
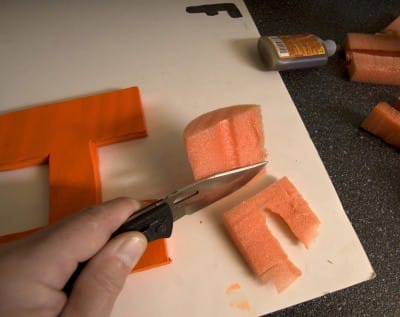
6. Venture to a dollar store, or a pool supply house (they’ll be more expensive at the pool store) to find a 2 1/2″ thick round water noodle (the smallest I could find). Take your knife and cut off a piece about 2 ½” wide, then split it in half.
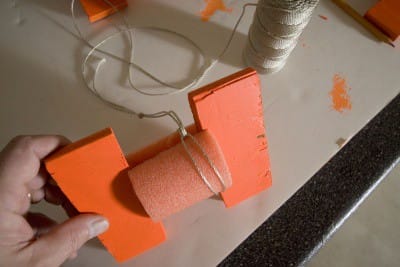
7. Fit one side on the marker and trim the foam so it covers the center of the “H”. This adds buoyancy and will make it much easier to wrap the line back on the buoy.
8. Apply Gorilla Glue to the inside of the foam and plywood and secure it with clear packing tape until dry.
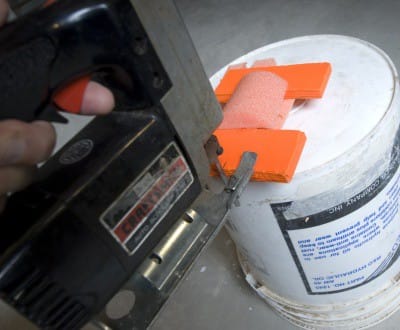
9. After the foam is dry and the tape is removed, cut a small 1″ notch in the center of the “H” with the jig saw for a line holder.
10. Using a slip knot, attach the line to the marker, then wrap the desired amount of line you’ll need on the buoy. Mine averaged about 30 feet.
11. Once wrapped, take the long decoy weight, tie it to the anchored line, and fold the weight over the board so it won’t unravel like the round sinkers do. If you think the weight of the long decoy anchor is too much, take a hacksaw and cut it in half. You’ll then need to drill a 3/16″ hole at the end to tie on to the next marker.
Tip: Not all of us want to mark a spot that can be seen for hundreds of yards by other anglers. If covert fish markers are more your style, consider spraying your entire marker with gray primer. Make sure you mark the location on your GPS, because depending on the water color, they can be very hard to find again.
Project Time
About 35 minutes (paint and glue curing can take half a day).
Tools Needed
Circular saw
Jigsaw
Utility knife
Materials Needed
1 Tube Gorilla Glue
1 5″ piece of scrap 5/8 plywood
1 can of fluorescent spray paint
1 sheet of 100 grit sandpaper
1 Water Noodle
Decoy anchors
Braided decoy line


